For the spiced hazelnut cream:
1. Preheat oven to 350℉ (180℃). Line a baking sheet with parchment.
2. Remove as much skins off the raw whole hazelnuts as possible by toasting them lightly in the oven; about 5 minutes.
3. Remove from oven, allow to cool slightly until able to handle. Grab a handful of nuts and rub hazelnuts together until most of the skins come off; do not worry if some skins remain on the nuts. Discard the skins.
4. In a small saucepan, combine the Redpath® Dark Brown Sugar and water, and set over medium heat. Stir until mixture just begins to boil and the sugar is dissolved. Reduce heat to medium-low and simmer for 3 minutes, the mixture will thicken slightly. While the mixture is still on the heat, add the skinned hazelnuts and swirl around to coat the hazelnuts with the thickened simple syrup. Remove from heat and pour the contents back onto the parchment lined baking sheet. Place back into the oven to toast; about 10 minutes.

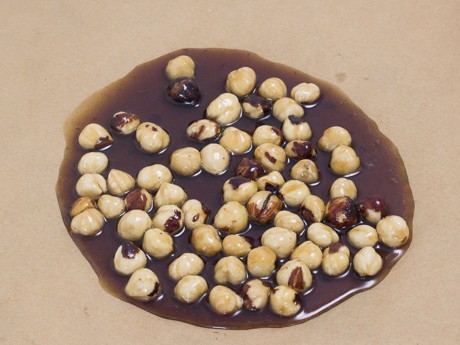
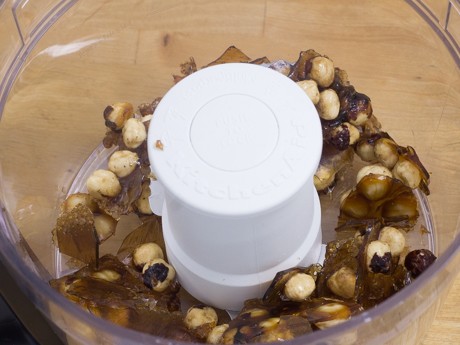
5. Take out of oven and allow to completely cool. Once cooled, place contents (including the hardened sugar) into a food processor and process until finely ground. Set aside.
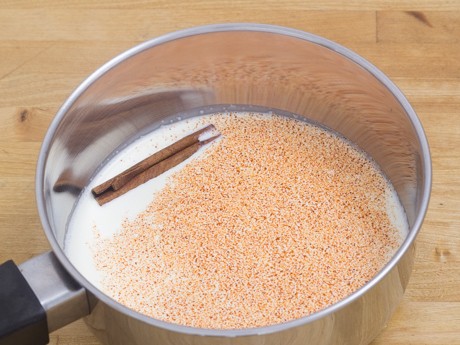
6. Place heavy cream into a small saucepan, add ground cayenne and cinnamon stick. Set on medium heat, and heat the cream until it just begins to simmer. Turn heat off and cover the pot with plastic wrap. Allow cinnamon to infuse into the cream; about 15 minutes.
7. Discard the cinnamon stick and re-heat cream until it just begins to simmer. Remove from heat and stir in the vanilla extract. Place milk chocolate chips into a heat-proof bowl and pour half of the cream over the chocolate; allow to sit for about 1 minute. Using a rubber spatula, stir cream into the chocolate starting from the centre outwards. Once fully stirred in, pour in the remainder of the cream and stir until fully incorporated.

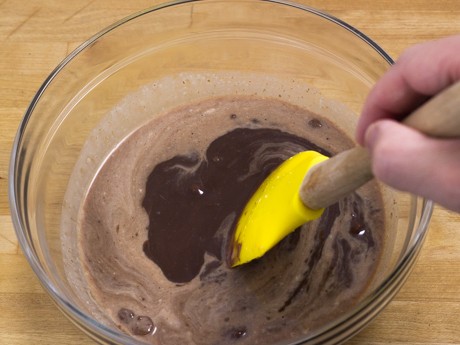
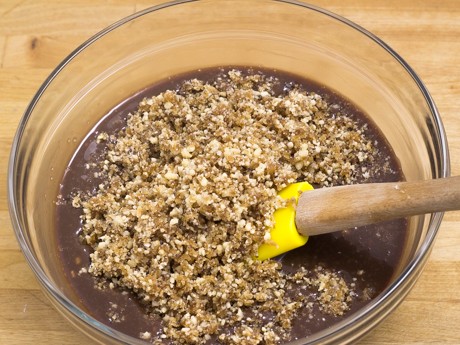
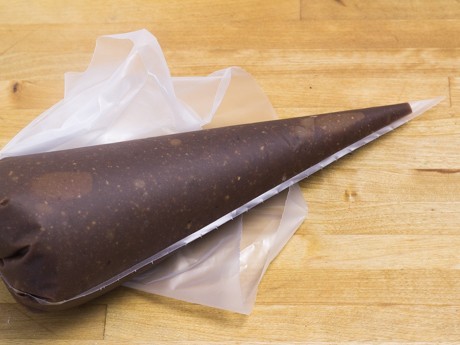
8. Stir in the hazelnut-sugar mixture until well blended. Place into the fridge to chill and thicken slightly; about 20 minutes. Place into a piping bag and into the fridge until ready to use.
How to prepare the Molds:
1. In a medium heat-proof bowl, melt and temper the chopped dark chocolate, according to the method stated in the “Homemade Assorted Box of Chocolates. ”


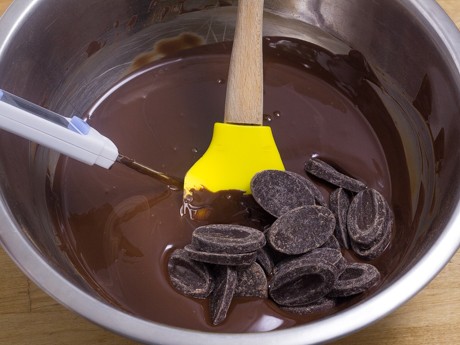
2. Fill chocolate molds with tempered dark chocolate. Once all molds are filled, tap mold onto work surface to release air bubbles. Turn the mold over and tap off the excess chocolate back into the bowl of tempered chocolate. Flip the mold over, and place it onto a cool baking sheet (or flat work surface). Tap the mold to release any air bubbles. With a small spatula, clean off any excess chocolate around the cavities of the molds to ensure a clean-finished product. Allow shells to harden in a cool location. To quickly harden shells, place onto a baking sheet and into the fridge for no longer than 5 minutes (set a timer), take out and allow to finish hardening in a cool location.
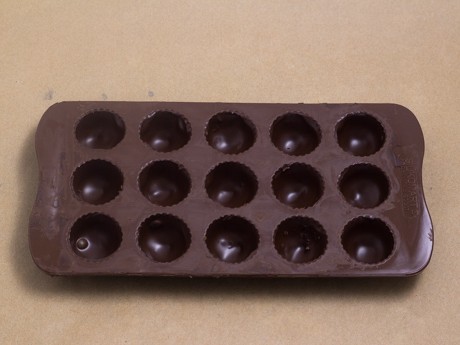

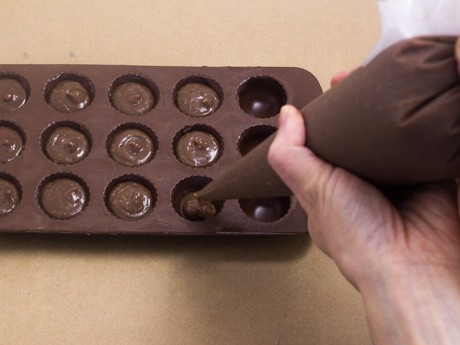
3. Once shells have hardened, cut off a tiny portion of the piping bag and pipe the cavities ¾ full with the hazelnut mixture. Make sure not to overfill or get any of the filling on the edges of the chocolates, as it will make it difficult to seal the molds. Allow the filling to set before spooning more chocolate over the filled molds. With a large off-set or straight spatula, scrape and smooth off the bottoms of the chocolates, making sure the edges around each cavity is clean.
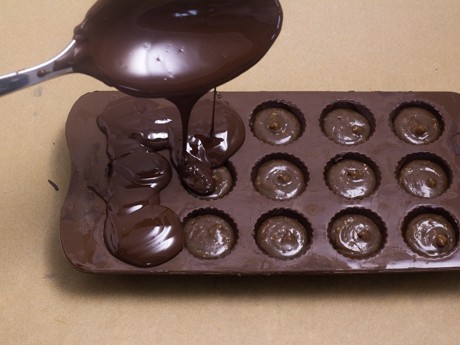
4. Allow the chocolates to harden (cavity side up) in a cool location or quickly place them into the fridge to set; about 3 to 5 minutes (set a timer to ensure that they do not stay in the fridge for too long as this will encourage the chocolates to untemper). Chocolates are ready to come out of the molds when they start to slightly pull away from the mold itself. Turn the molds over onto a piece of parchment paper, and they should easily fall out if they have completely hardened. Gently ease them out, if required, by tapping the bottom of each chocolate.

How to decorate (optional):
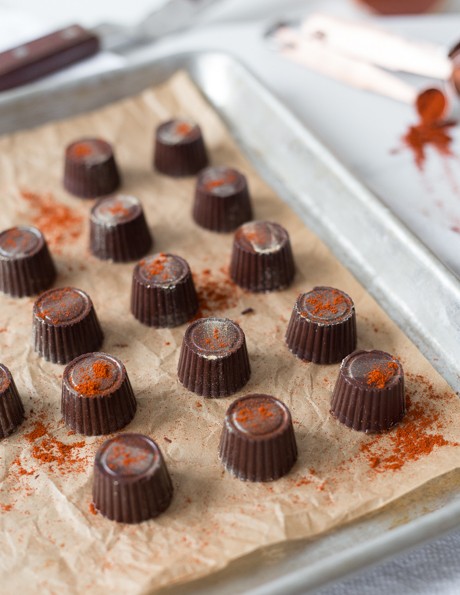
1. Dip a small, clean paint brush into desired shade of lustre dust. Brush the tops or sides of each chocolate. Feel free to brush on a single stroke or a design onto each chocolate. Alternatively, sprinkle a small amount of ground cayenne on the tops for extra heat and colour. Store in an airtight container in a cool, dry location.

